Upgrading your kitchen is one of the most effective ways to increase your property value and attract more buyers. When selling a home, the kitchen is often the first area buyers judge, and a well-presented, modern kitchen can significantly improve your chances of achieving a higher sale price.
Start with a deep clean and declutter. A spotless kitchen instantly creates a strong first impression. Clear all benchtops, remove unnecessary items, and ensure appliances, cabinets, and grout are thoroughly cleaned. This simple step makes the space feel bigger, brighter, and well maintained.
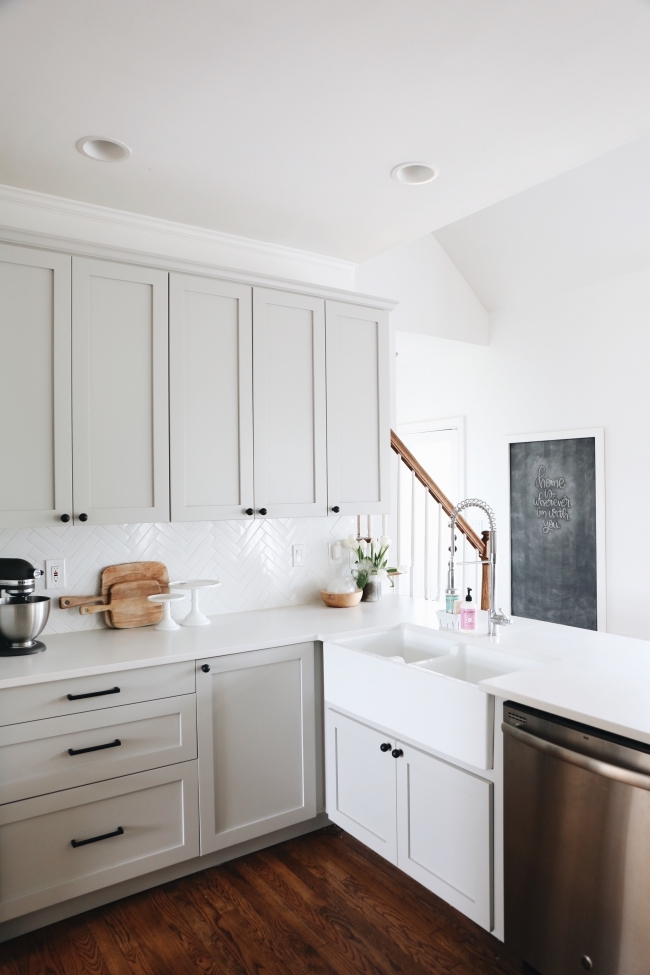
Refresh your kitchen cabinets instead of replacing them. Repainting or resurfacing cabinet doors and updating handles can modernise the entire space at a low cost. Fix any misaligned doors or drawers to ensure everything looks functional and neat.
Upgrade your kitchen benchtops where possible. Benchtops are a key visual feature and can elevate the overall look of your kitchen. Laminate options offer a cost-effective upgrade, while stone benchtops such as Caesarstone provide a premium finish that appeals to buyers. For stone benchtops, suppliers typically measure and install after the cabinets are installed.
Improve lighting to enhance the space. Bright, well-lit kitchens feel more spacious and inviting. Consider installing LED downlights, upgrading outdated light fittings, and adding under-cabinet lighting for both style and functionality.
Update your splashback to give the kitchen a fresh, modern look. Subway tiles, glass splashbacks, or neutral finishes are popular choices that appeal to a wide range of buyers. Keeping colours simple and timeless will help maximise buyer interest.
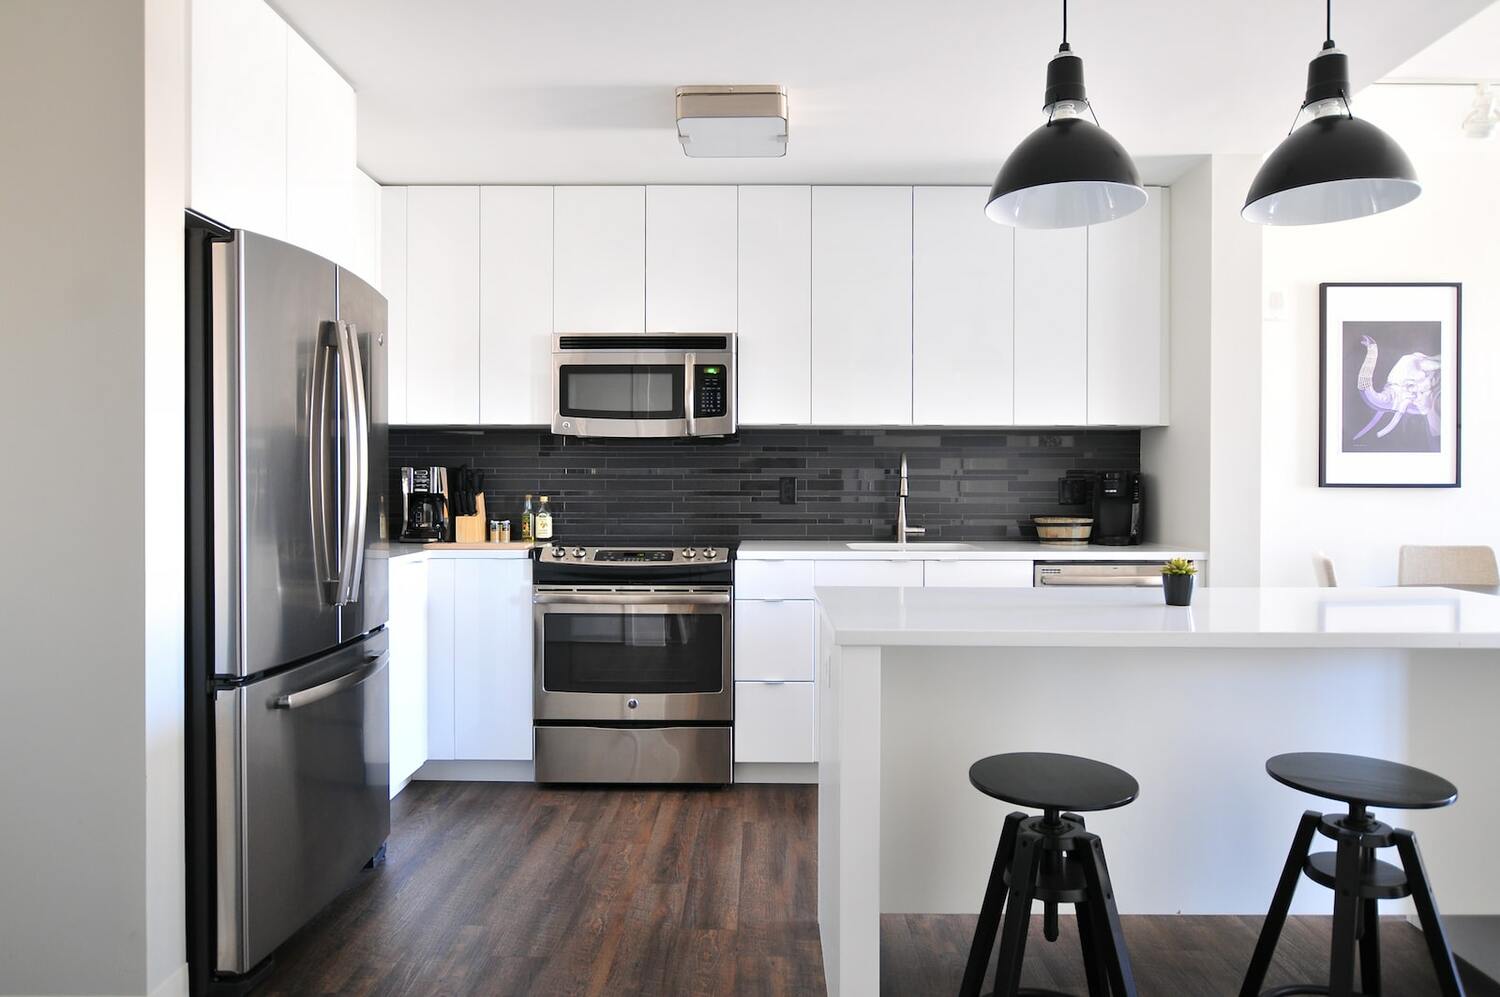
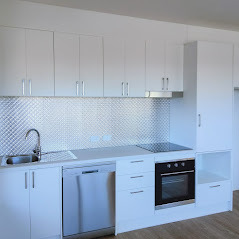
Ensure appliances are clean, modern, and in good working condition. You don’t need high-end appliances, but replacing old or damaged items with clean, functional options—preferably in stainless steel—can make a big difference.
Fix all minor details before listing your property. Repair chips, scratches, and dents, reapply silicone around sinks and benchtops, and ensure all cabinetry operates smoothly. These small improvements signal quality and attention to detail.
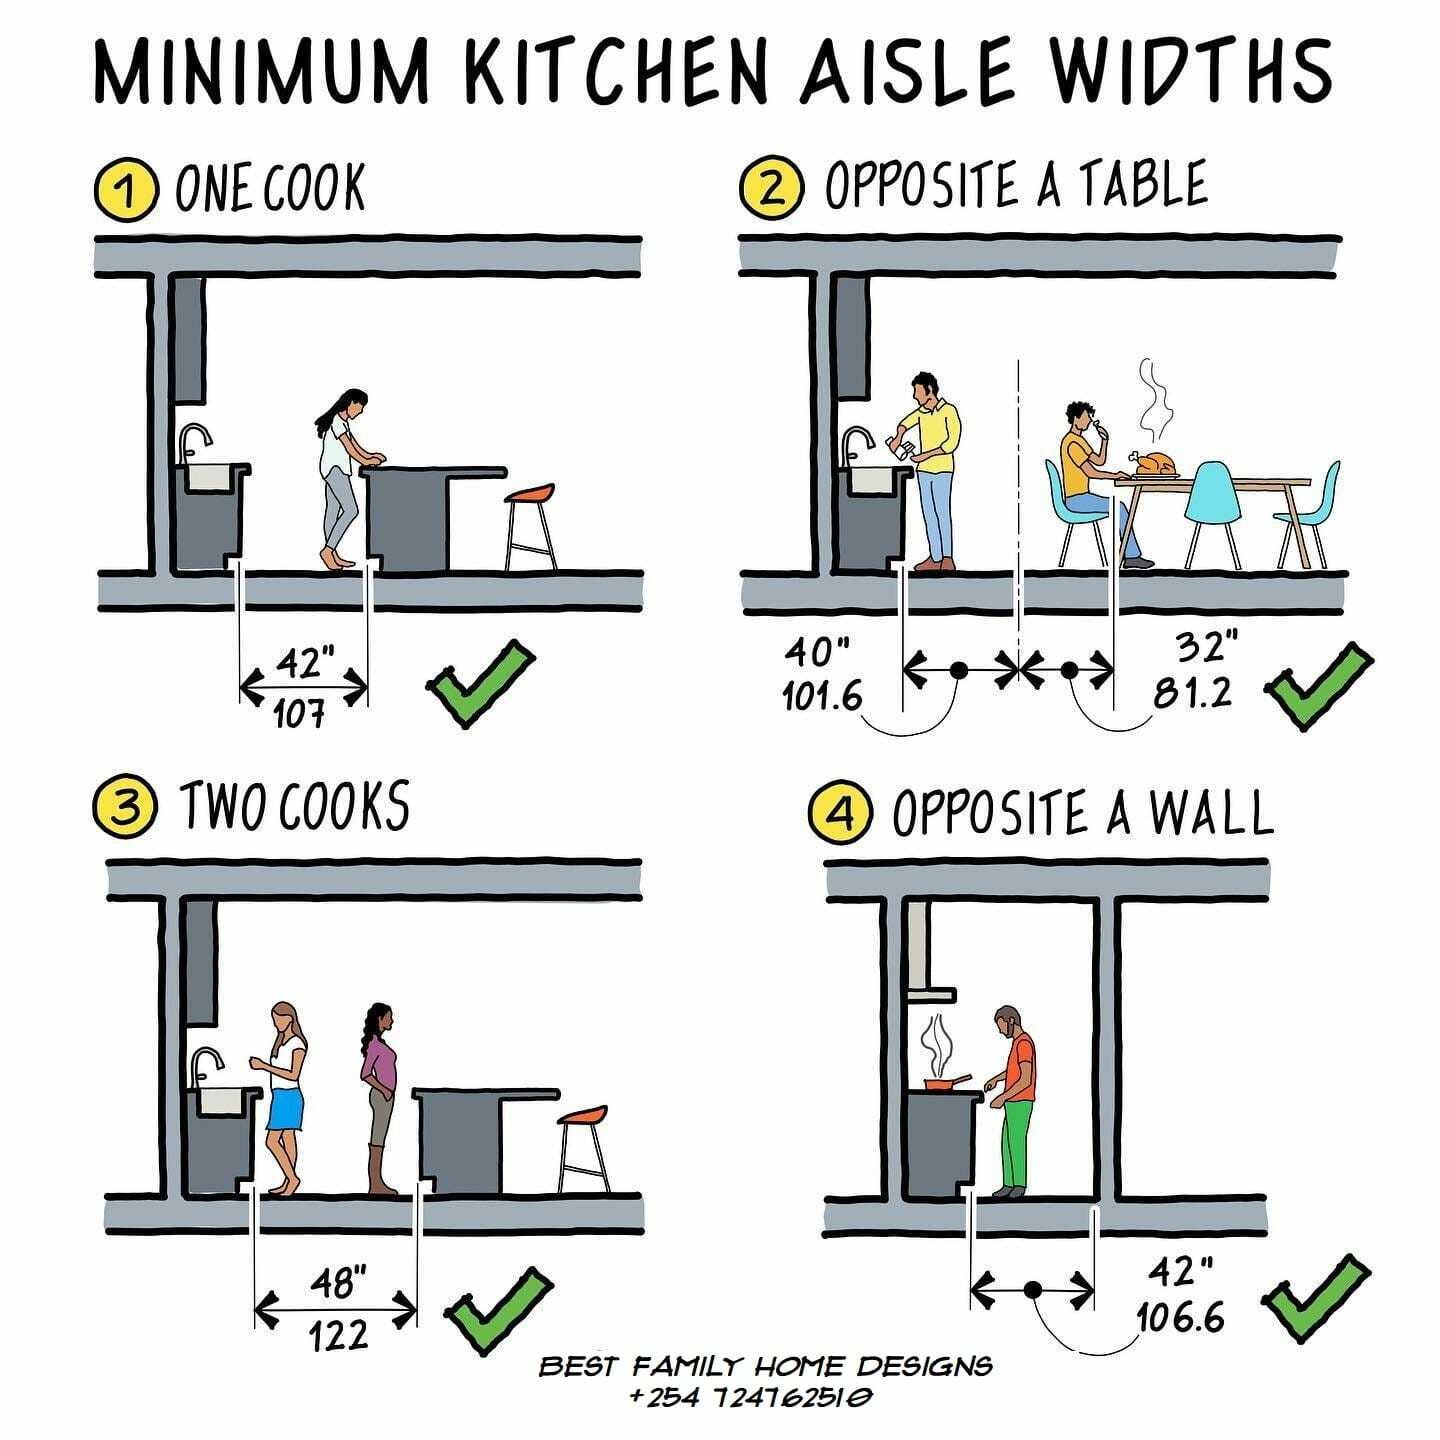
Optimise the layout to improve functionality. Remove bulky items, maximise storage, and create clear bench space. Even small adjustments can make the kitchen feel more practical and appealing without major renovations.
Apply a fresh coat of paint in neutral tones such as white, light grey, or beige. Neutral colours help create a clean, modern look and allow buyers to visualise their own style in the space.
Style the kitchen for photos and inspections to maximise presentation. Keep it simple with minimal décor such as a bowl of fresh fruit or clean, matching accessories. The goal is to create a welcoming and aspirational space that connects with buyers.
At Assembly Experts, we specialise in kitchen upgrades, flatpack kitchen installation, cabinet assembly, and property preparation services in Adelaide. Whether you need a minor refresh or a full kitchen installation, our team ensures your kitchen is ready to impress buyers and achieve the best possible sale result.
If you are planning to sell your home, investing in a kitchen upgrade is one of the smartest ways to increase property value and stand out in the Adelaide property market.